This
video shows ease
of use.
|

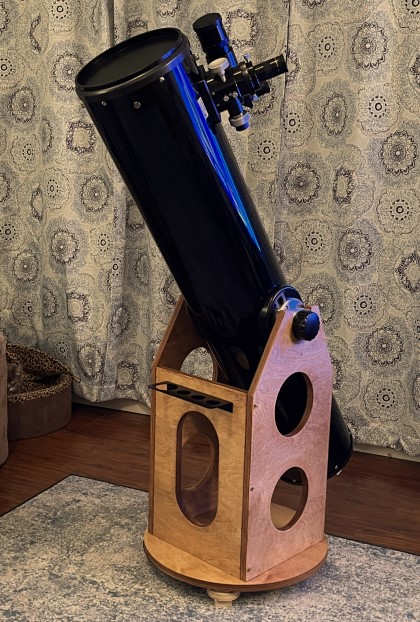
This above view is earlier version, before adding leveling feet. |
Easy to use:
- Set your
telescope down and point North.
- Leveling
with adjustable feet using bubble level or app.
- Rotate
the setting circle to align zero with (supplied) pointer.
- Ready to
use.
Simple
attachment to mount:
- Remove
feet from your ground board.
- Screw on
setting cirlce through Teflon pads into existing ground board
foot holes.
- Drill pointer
hole in ground board edge (we provide perpendicular center locating
jig).
- Screw in
North pointer at desired positon on rocker box bottom board
outer edge..
- Done.
Setting circle
is captive, extends under edge of mount ground board. Rotates
freely and remains centered around Teflon pads. Easy to move,
locks/unlocks turning nylon scew.
Video at upper left shows prior version with old lock bolt style,
without leveling feet. Intended to show quick and easy setting
circle alignment.
1. Outside
diameter of ground board.
2. Distance from outside edge of ground board to center of a
foot.
What will you need to do?
1. Fine sand.
2. Spray or paint clear finish.
3. Remove your ground board feet.
4.
Screw on azimuth setting cirlce assembly, thru Teflon into ground
board feet holes.
5. Screw pointer onto outer edge of rocker box bottom board
at desired position.
All parts included: Azimuth setting circle, stainless steel
pointer, 3 leveling feet, all screws and bolts, Baltic birch
plywood with laser inscribed degree increments and numbers.
Arrives rough/80 grit sanded.
|

